The process of creating the animatic storyboard
We took pictures of the each picture of the storyboard. We made sure that the composition consisted entirely of the photo and nothing else.

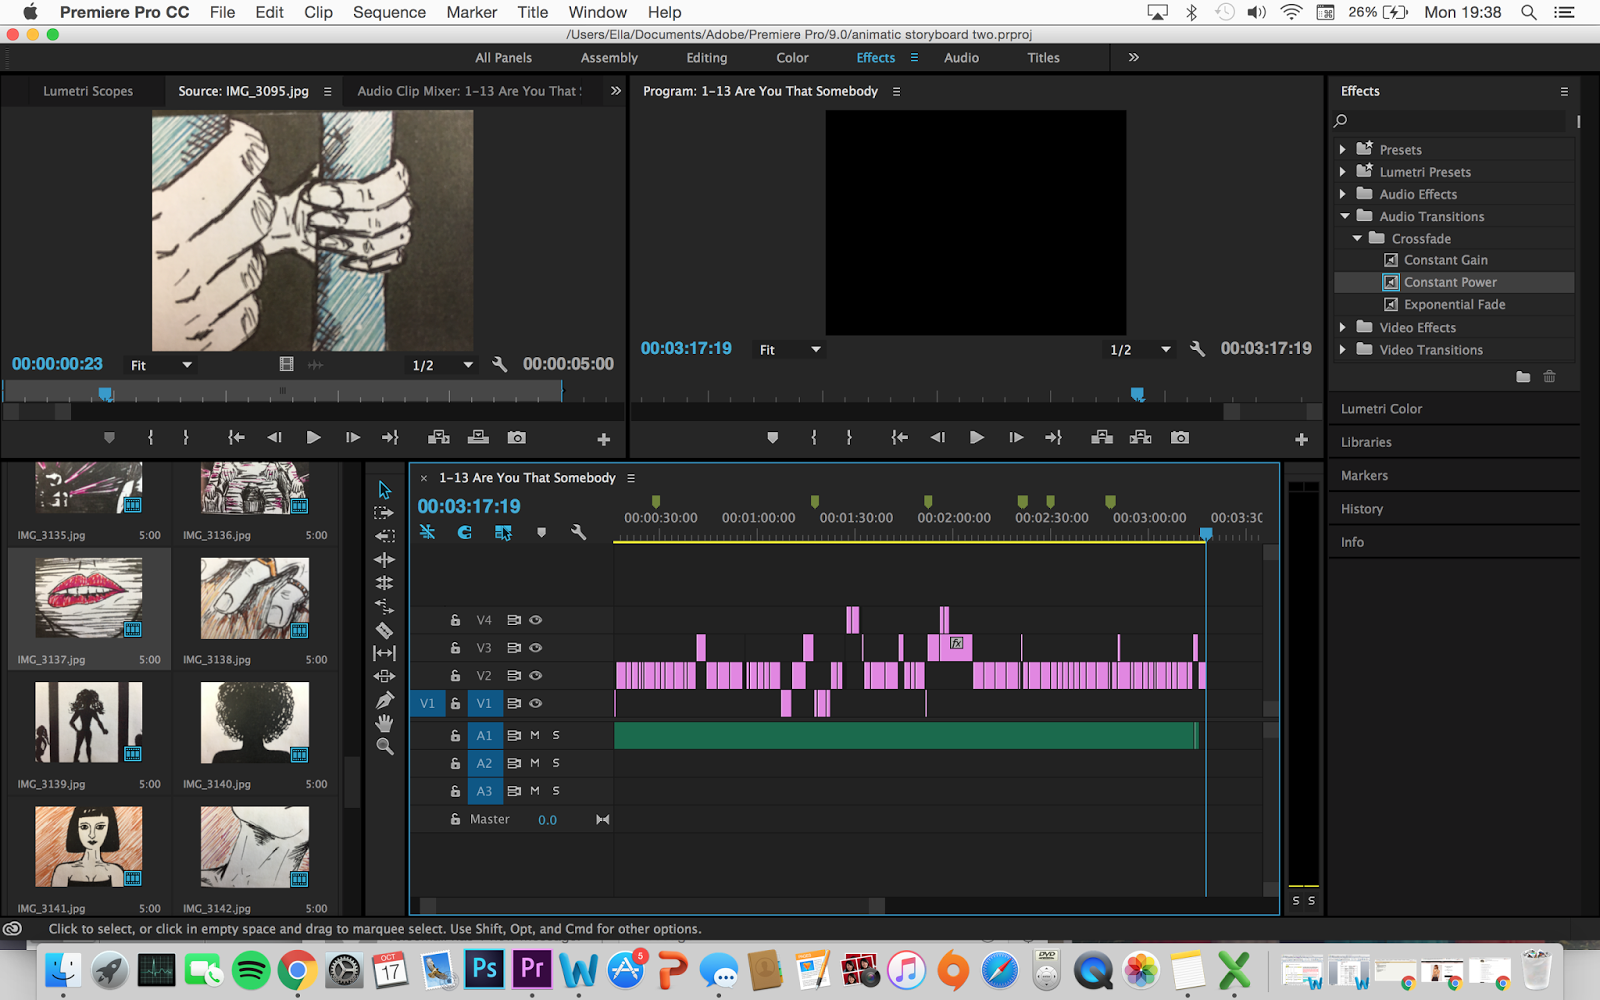
I was fortunate enough to own Adobe Premiere Pro on my laptop, meaning that I wasn't restricted to using the school computers, and can therefore edit over time.


We bought the song off Itunes and transported it to my laptop. We then followed both the storyboard and the timeline together, to know when we were placing the pictures on each part of the song.
We loaded the lyrics and timeline on one screen, and edited on the other.


We started by cutting the song: we deleted the beginning first verse of the rap (first 15 seconds) of the song. We then cut the end of the song but replaced the final line of our edited song with the final chorus line at 3:42. We then covered up this cutting with a smooth transition, so that it sounds unedited.


Using rhythm editing, we attempted to cut the pictures to the beat of the song. I've had experience with this before, when editing an evaluation question for my AS year. Therefore, this was fairly easy to do, however, it could always and hopefully be improved. We will take more time meticulously editing this to the beat in post-production, if continuing with this idea.
Underneath I have made a sped up gif to demonstrate the editing:

Overall we were happy with the outcome of the storyboard. The process was enjoyable and gave us an insight into what post production will be like. Furthermore, the storyboard presented in this format is particularly useful to collide the vision and the music together for the first time. We can now physically see how the video will unfold.
However, if I could, I would sharpen the photos as they are very blurry. I did attempt to do this in premiere, however this was not significantly effective.


Tags:
a2


0 comments