Studio Lesson 3: Editing
In this lesson, we learnt the basic techniques to editing sequences.
We started with learning the basic functions of Adobe Premiere Pro. We began with opening our clips that we filmed. They are stored in files that in media we call bins.
We learnt in the previous studio lesson, that you should also record before the start of your desired scene. This leaves opportunity and room to cut so you can start the scene when you want.
To trim the scene, we pressed CTRL+I/CMD+I, for IN; and CTRL+O/CMD+O for OUT. We select the section that we desire and drag it to the video timeline.
We then save (CTRL+S/CMD+S) so our work does not get deleted if the programme or computer crashes.
We then repeated the same thing with another clip and dragged it to the timeline, however we drag it ON TOP of the previous clip. Whatever is on top will play instead of what's underneath it.
The left screen is for the RAW unedited clip. The right screen is for the edited sequence on the timeline. To make the sequence look good, you must match up a similar scene between the previous clip and the clip you want to add.
For example, if you were to film a girl putting a hand on a bannister, and wanted to jump from a wide shot to a close up; you would need to match up the moment the girl puts her hand on the bannister so there is a clean cut.
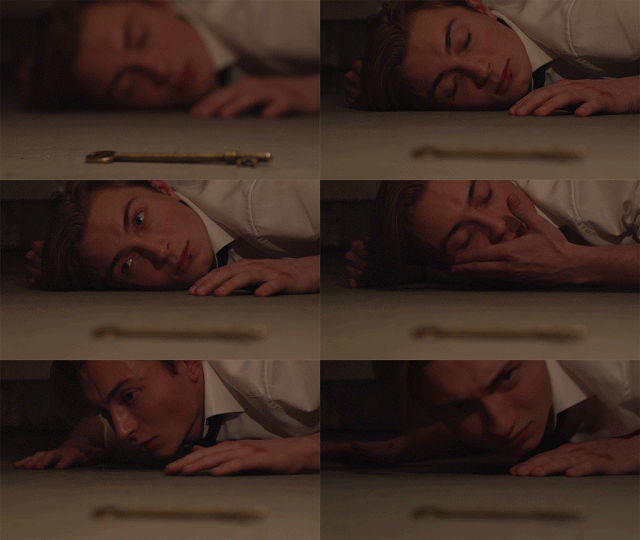
One problem we had is that we wanted to add a head shot half way through the mid-close up. However, after the head shot there was very little time between the close up and extreme close up. This looked odd as this segment of the clip was like a flash.
This studio lesson was necessary as we will be using adobe premiere pro in our preliminary tasks and editing is one of the most fundamental features in media studies.
Tags:
a1


0 comments